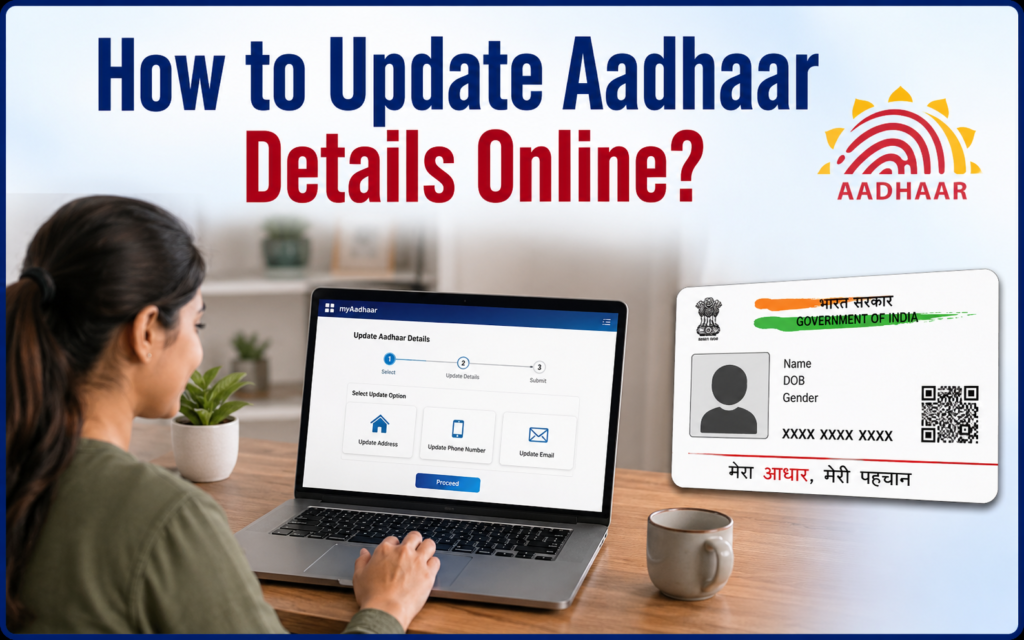
Your Aadhaar card is one of the most important identity documents in India. It is used for banking, government schemes, SIM verification, PAN linking, and many other services. If your address, name, date of birth, or any other details have changed, you should update your Aadhaar card as soon as possible.
The good news is that you don’t always need to visit an Aadhaar enrollment center. Many updates, especially your address, can be completed online from the comfort of your home. In this guide, you’ll learn how to update your Aadhaar card online in a simple and easy way.
Why Should You Update Your Aadhaar?
Keeping your Aadhaar details up to date helps avoid problems while using government and private services. You should update your Aadhaar if:
- You have shifted to a new address.
- There is a spelling mistake in your name.
- Your date of birth or gender is incorrect.
- Your mobile number or email address has changed.
- Any information on your Aadhaar card is outdated.
An updated Aadhaar makes verification faster and helps prevent issues with banking, KYC, and government benefits.
Steps to Update Your Aadhaar Card Online
Updating your Aadhaar online is simple if your mobile number is already linked with your Aadhaar.
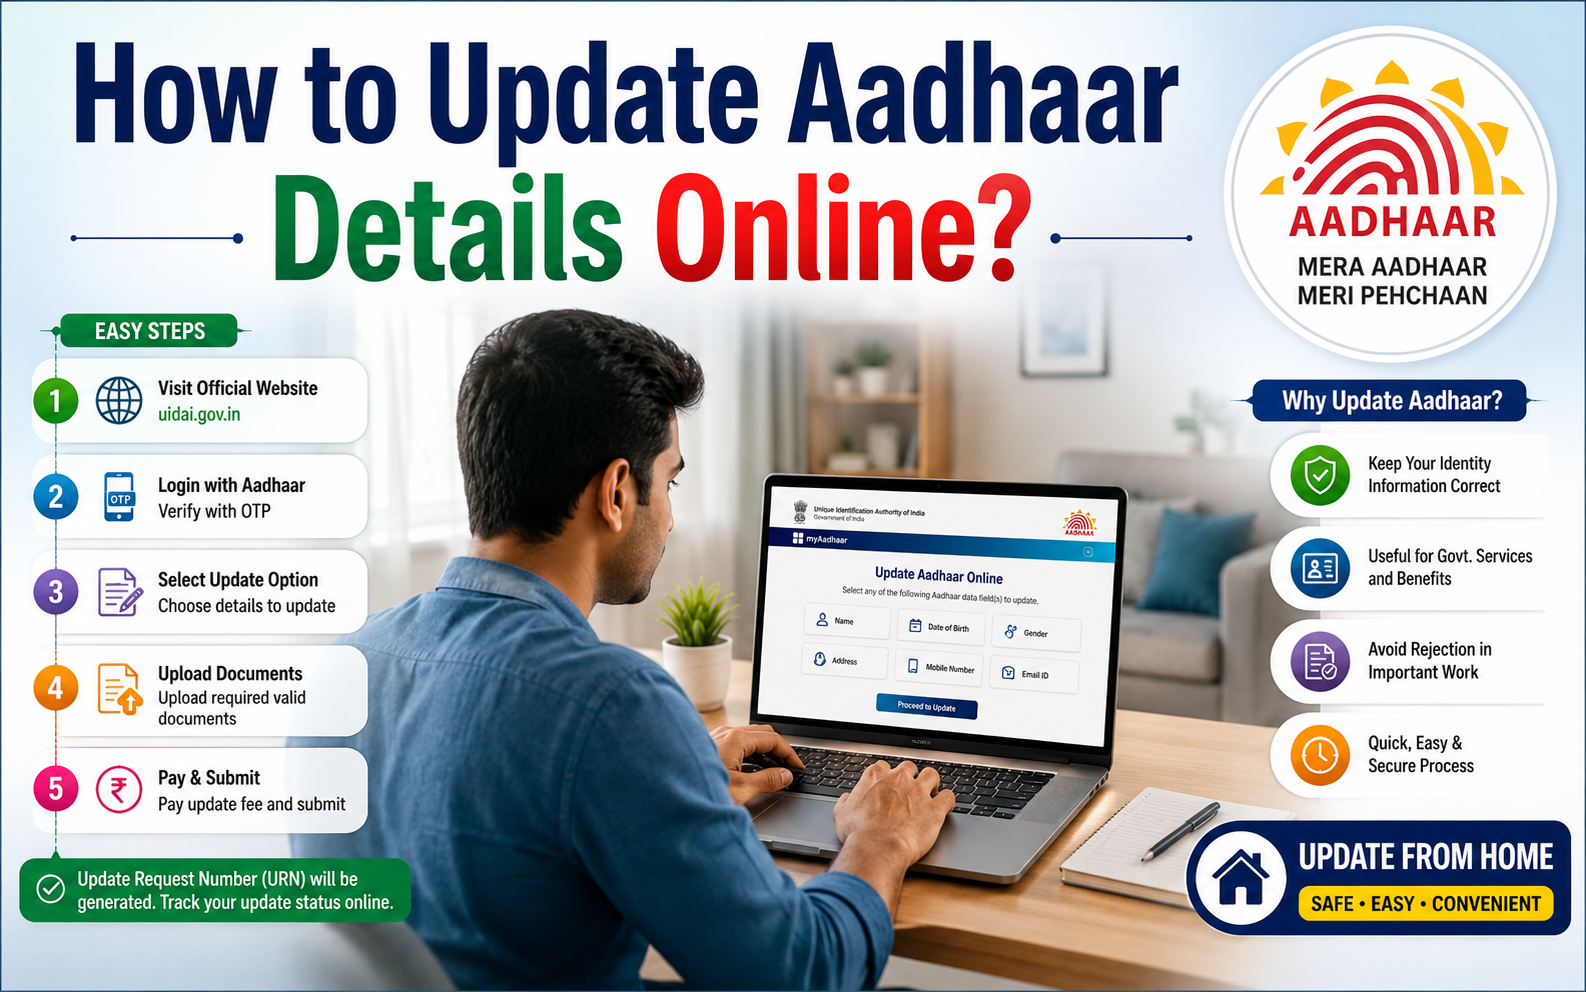
Step 1: Visit the Official UIDAI Website
Open your browser and visit the official UIDAI portal. Make sure you use the official website only to avoid fraud or fake websites.
Step 2: Log In
Click on the login option and enter your Aadhaar number. You will receive a One-Time Password (OTP) on your registered mobile number. Enter the OTP to continue.
Step 3: Choose the Detail You Want to Update
After logging in, select the information you want to update. Depending on UIDAI’s current rules, certain details can be updated online, while others may require a visit to an Aadhaar Seva Kendra.
Step 4: Enter the Correct Information
Carefully type the updated information. Double-check the spelling, numbers, and other details before submitting your request.
Step 5: Upload Supporting Documents
If required, upload clear scanned copies of the necessary documents. Make sure the documents are readable and match the information you are providing.
Step 6: Review and Submit
Check all the entered details once again. If everything is correct, submit your request. You may need to pay a small update fee depending on the type of update.
Step 7: Save the Update Request Number
After submitting your application, you’ll receive an Update Request Number (URN) or acknowledgement. Save this number because you can use it later to check the status of your request.
Documents You May Need
The required documents depend on the type of update. Common documents include:
- Passport
- Voter ID
- Driving License
- PAN Card
- Electricity Bill
- Water Bill
- Bank Passbook
- Passport-size supporting documents accepted by UIDAI
Always upload clear and valid documents to avoid rejection.
How to Check Your Aadhaar Update Status
Once your request is submitted, you can check its progress online using your Update Request Number (URN). Simply visit the UIDAI portal, open the status tracking section, enter your URN, and you’ll be able to see whether your request is under review, approved, or completed.
Useful Tips Before Updating
- Ensure your registered mobile number is active because OTP verification is required.
- Enter all information exactly as it appears on your official documents.
- Upload high-quality images or scanned copies of documents.
- Never share your OTP with anyone.
- Always use the official UIDAI website for Aadhaar-related services.
Conclusion
Updating your Aadhaar card online is quick and convenient and saves you the hassle of visiting an Aadhaar center for eligible updates. By keeping your Aadhaar information accurate and up to date, you can avoid delays in banking, government services, and identity verification.